The goal is simple: a flatter floor, a cleaner home, and a longer-lasting finish with the least wood removed.
Below is the exact progression we use on most projects. (Every floor is evaluated and adjusted as needed.)
Why correct sanding matters:
- Eliminates uneven wear by creating a true, flat surface.
- Prevents chatter, swirl marks, and edge ‘picture framing’.
- Creates the right scratch profile for stain and finish to bond and cure properly.
- Preserves the life of the floor by avoiding unnecessary wood removal.
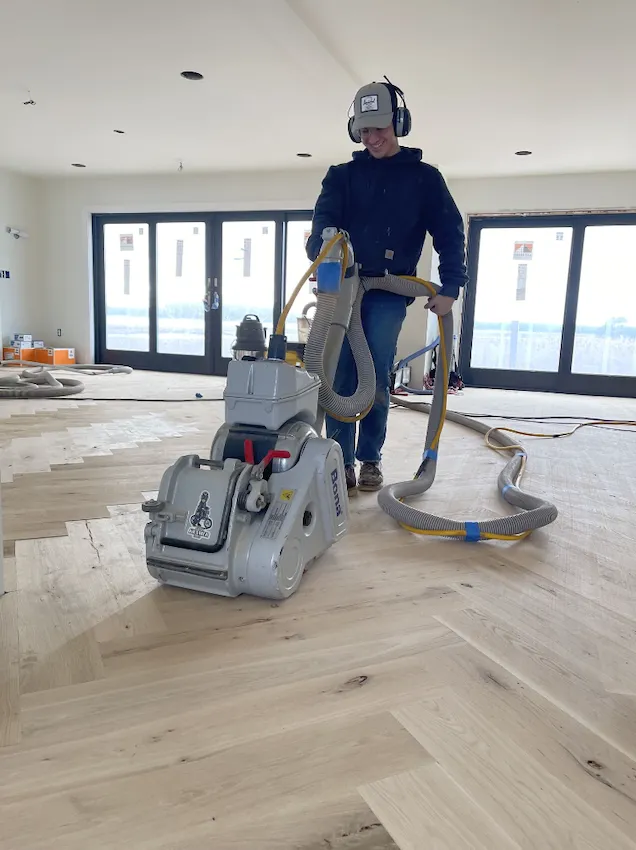
Step 1: Initial Cut & Flattening
(Bona Belt HD, 50 grit)
- Make one controlled pass with 50 grit only. That removes the old finish and knocks down excessive highs/lows without overcutting.
- Goal: establish a flatter field without taking unnecessary wood off the floor.
- Keep the machine moving and your cut even; no pauses, no “digging” at transitions.
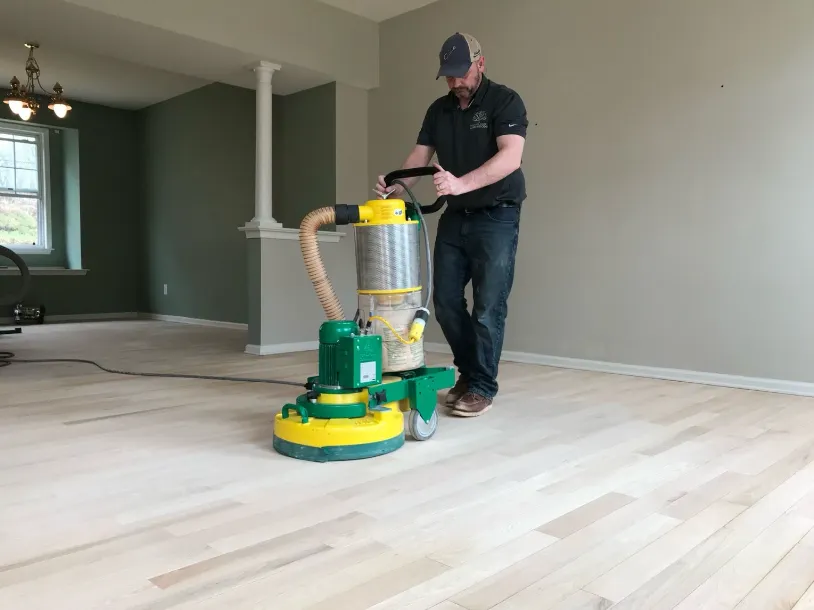
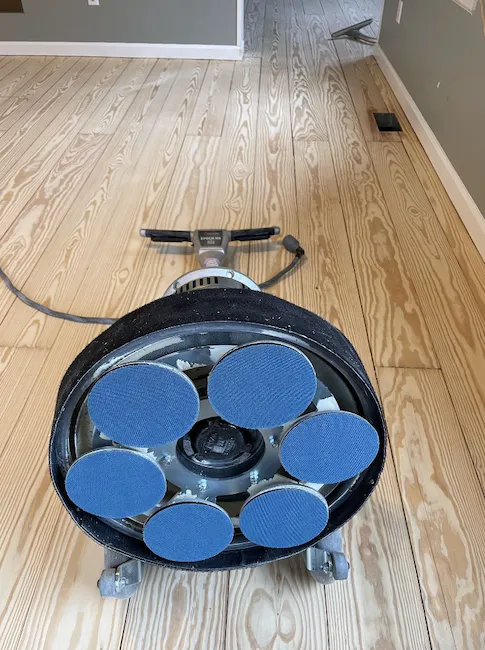
Step 2: Table-Top Flat Surface
(Planetary, 50 grit)
- Follow immediately with the planetary at 50 grit to refine the scratch pattern and flatten the grain.
- This pass removes belt scratches and levels the floor to a smooth, uniform plane.
- Key benefit: maximum flatness with minimum wood removal.
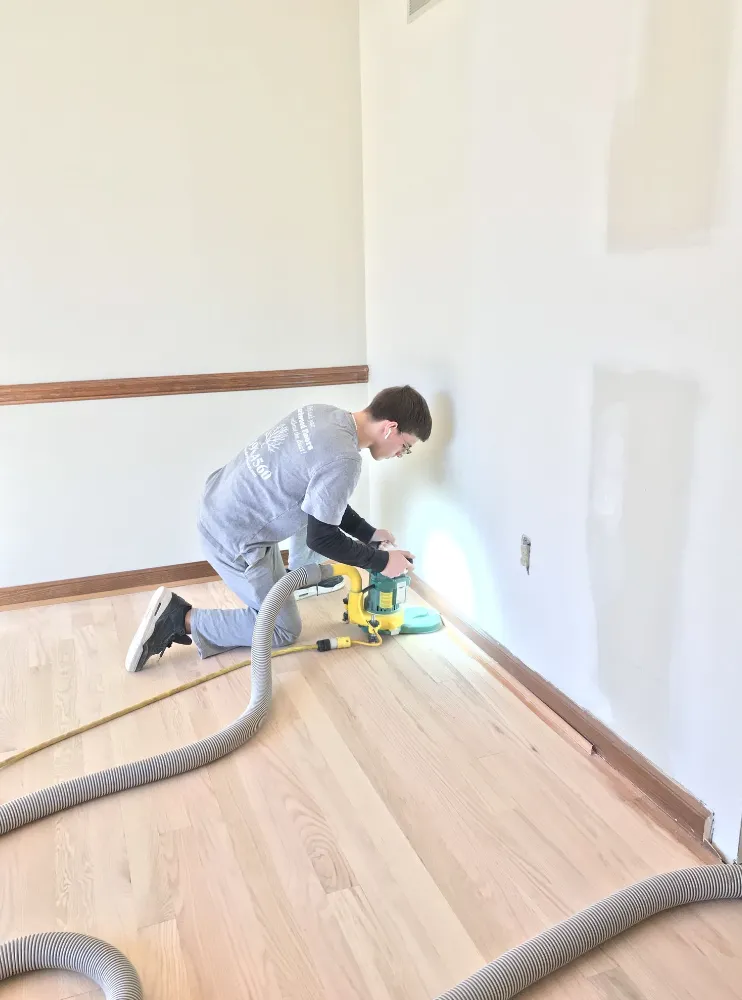
Step 3: Edge Cut
(Lägler FLIP, 80 grit)
- Edges are sanded with 80 grit to match the field cut and prevent over-aggressive edge digging.
- Work in a consistent pattern; feather back into the field to avoid a hard ‘edge picture frame’.
- Stay tight to base and corners while protecting walls and trim.
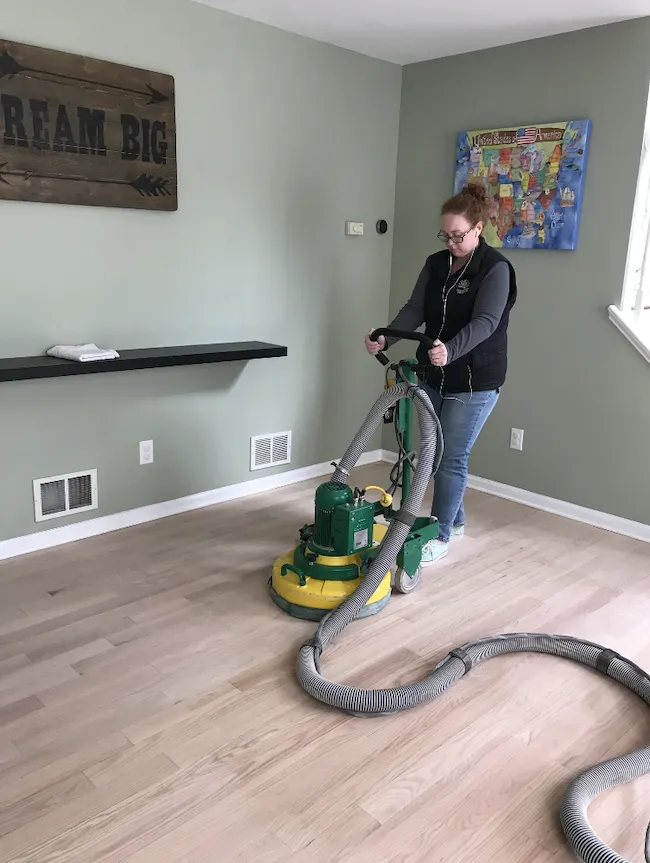
Step 4: Blend the Field
(Planetary, 80 grit)
- Return to the planetary with 80 grit to blend edge work and refine the overall scratch pattern.
- This step sets you up for a uniform stain/finish acceptance and eliminates swirl risk.
- Vacuum thoroughly between grits to prevent stray particles from re-scratching the floor.
Step 5: Edge Refinement
(Mirka DEROS 5" Orbital)
- Orbital-sand the edges to remove any remaining edger marks and leave a consistent, fine scratch.
- This is where the floor starts to ‘feel’ right, smooth underfoot and ready for final screening.
- Dust control stays connected the entire time for a clean work environment and best finish quality.
Step 6: Final Screen
(RS16 Buffer, 120 grit screen)
- Final screen with a 120 grit screen to unify the surface and keep wood removal to a minimum.
- This pass helps achieve a refined, even texture that finishes beautifully.
- After screening, vacuum and tack thoroughly so cleanliness translates into clarity in the final coat.
Finishing & Coating Process
Color Prep: Water Pop or Natural
- For stain: water-pop with a 50/50 denatured alcohol + water mix for more even color and stronger definition.
- For natural: proceed directly to your finish system after final cleaning.
Stain Application: Buff In
(Red Pads)
- Buff stain into the wood using red buffer pads.
- Benefits: (1) drives stain deeper for improved sealing and richer, more uniform color; (2) smooths the grain for a softer feel underfoot.
Finish System: Build, Buff, Final Coat
- Apply your finish of choice, commonly Bona Traffic HD (waterborne).
- Apply 2 coats, then buff with 240 grit, vacuum and tack clean, then apply the final coat.
- This inter-coat abrasion promotes adhesion and yields a clean, near-perfect site-finished floor.
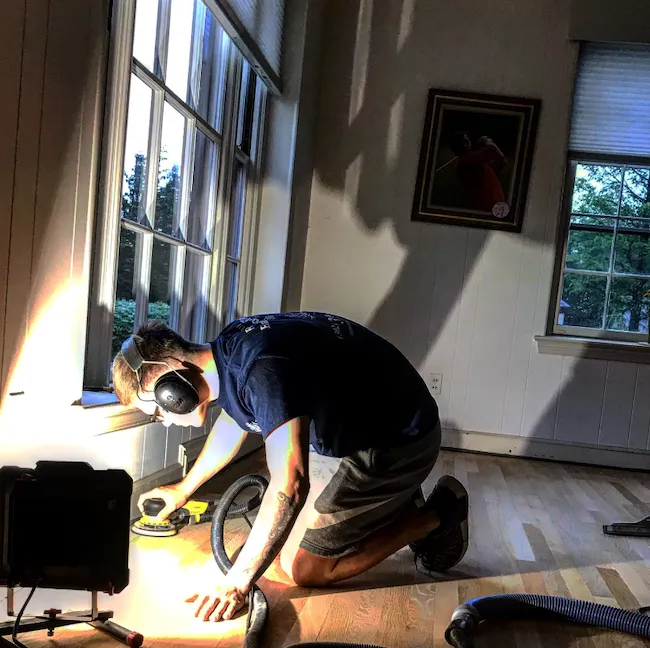
Dustless Containment On Every Job
Every tool we use ties into our dustless trailer system, so sanding debris is captured at the source instead of drifting through your home.
The result is minimal cleanup, cleaner air for your family, and refinishing work that feels far less disruptive.